
How to Make Ube Mochi Ice Cream
Learn how to make this Ube Mochi ice cream recipe to satisfy your mochi ice cream and ube ice cream cravings at the same time! This popular Japanese dessert is easy to make and delightful to eat. It uses our super easy to make no-churn Ube Ice Cream. And did you know? This dessert is GLUTEN FREE!
This post may contain affiliate sales links. Please see my full disclosure policy for details.
What is mochi ice cream?
For starters, mochi is a Japanese rice cake that is made from Japanese short-grain glutinous rice flour. The mochi is made by combining the rice flour with sugar and water. Then it is steamed or microwaved until it has a smooth and elastic texture. It becomes a pillowy and soft dough that is great by itself or with sweet fillings.
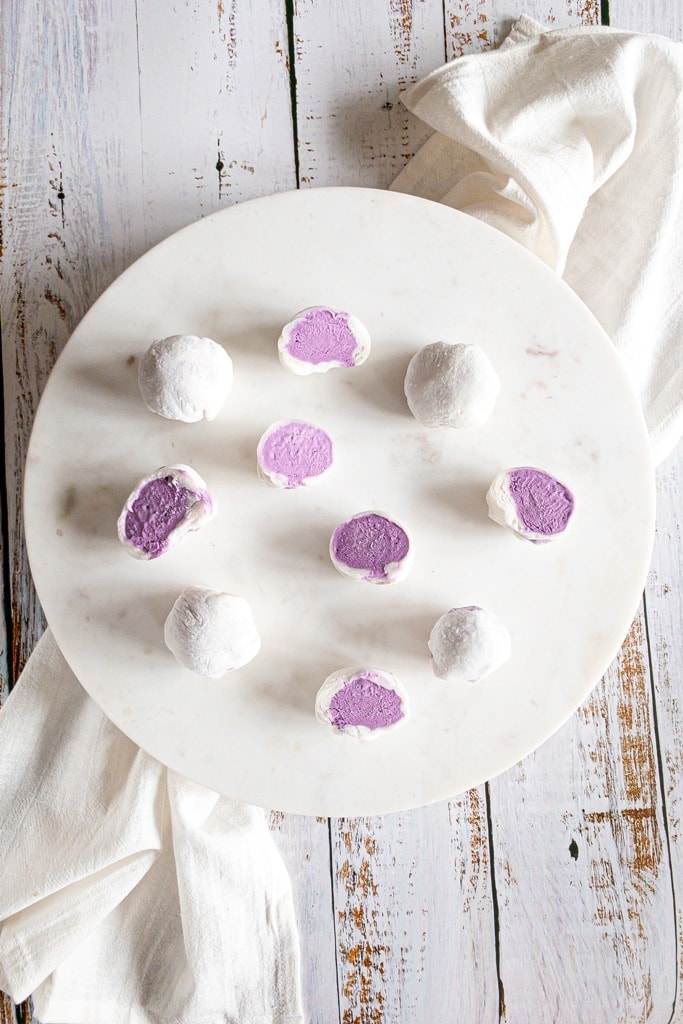
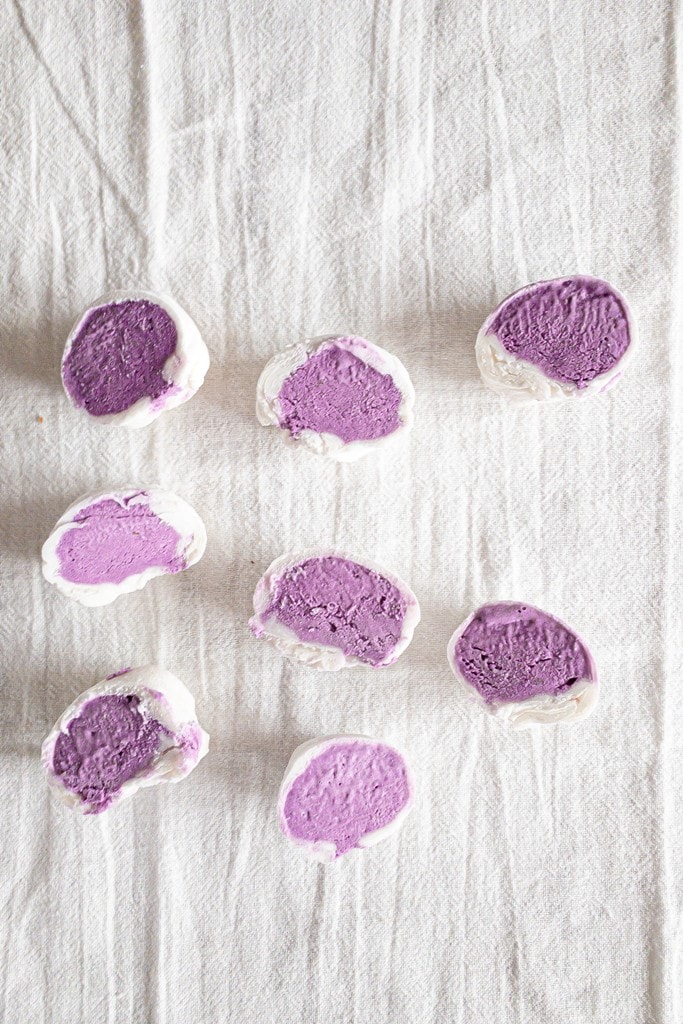
In mochi ice cream, scoops of ice cream are placed in disks of sweet mochi dough and then frozen. These adorable treats have a fantastic squishy feel when you take a bite. The sweet mochi dough has a neutral flavor, so the flavor combinations you can make are pretty much endless! Instead of ube, you can try vanila, matcha, strawberry, chocolate, or black sesame ice creams.
You can buy mochi ice cream in Asian grocery stores or at Trader Joe’s, but I think it’s way more fun to try and make them yourself. You get about 10 pieces instead of the 6 pieces sold at the store. Plus, you won’t have to stand in line at Trader Joe’s to have them!
This recipe is also a fun way to use up that batch of Homemade Ube Ice Cream that we posted. We were inspired by Food52’s mochi ice cream recipe to create this culturally mish moshed dessert but found that lessening the sugar was better since Ube Ice Cream is so sweet on its own.
What you will need for this recipe
- Ube ice cream (or ice cream of your choice)
- Sweet glutinous rice flour (we like this one)
- Cornstarch
- Water
- Sugar
- Small cookie scoop
- Muffin tin
- Silicone spatula
- Microwave-safe measuring glass
- Large baking tray
- Parchment paper or wax paper
- Rolling pin
- 4″ dough cutter (can also be a small bowl turned upside down)
- Pastry brush or silicone brush
- Sifter
Tips for making this recipe
- Prepare your ice cream scoops in advance and place them in the fridge. This will help keep them nice and frozen solid when you wrap them in your mochi dough.
- Mochi dough should be cooled down, but also fresh. Don’t make this too much in advance or it risks getting dried out and will tear as you try to wrap your dough. Make the dough when your ice cream scoops are frozen.
- The dough will be sticky so use a lot of cornstarch. When it comes time to rolling the mochi dough out, generously cover your parchment paper, the dough, and your rolling pin with cornstarch. Use a sifter to avoid clumps.
- Use plastic wrap to contain the mochi ice cream balls as they refreeze. It will help the seam stay together and keep it in a round shape. Plus, any ice cream leaks will be contained while it freezes.
- Work as close as possible to your freezer, and take out only one ice cream ball at a time. They melt faster because of the heat of your hands.
- If you have them, use plastic latex gloves. They will help insulate the ice cream from your body heat.
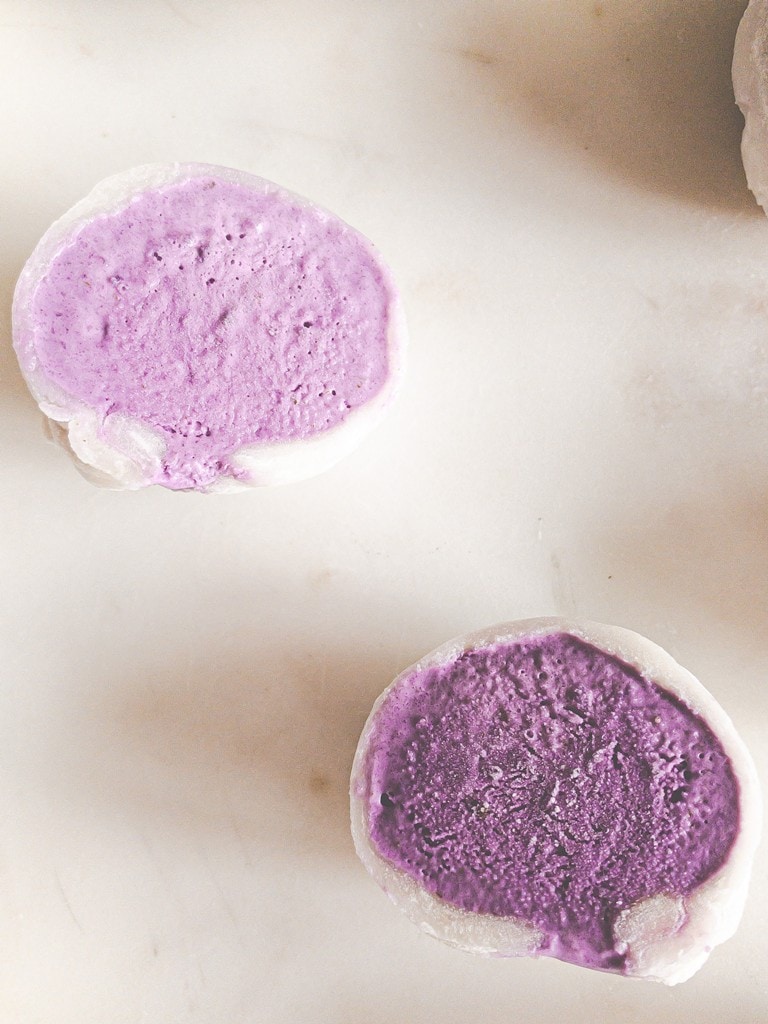
- When it comes time to eat the mochi ice cream, let it come to room temperature. I found that 7 to 8 minutes usually does the trick. After that little bit of anticipation, the mochi dough is pillowy soft and has the bouncy chew that you expect from a mochi ice cream.
After making this dessert, try some of our other ube recipes!
Want more recipes? Subscribe to our recipe newsletter and follow us on Facebook, Pinterest, and Instagram for more noms and updates.
Ube Mochi Ice Cream
Ingredients
Method
- Scoop your ice cream with a small cookie scoop into small balls, about 2 tablespoons each. Wrap them in plastic wrap and Freeze overnight, or until rock solid. You can place them into an egg carton lined in plastic wrap or in a muffin tin.
- Whisk mochi and sugar together in a large microwave safe bowl. Add the water and whisk together.
- Cover the bowl with plastic wrap and microwave on high for 1 minute. Dip a silicone spatula in water and stir the mixture together. Cover the bowl and microwave again for 1 minute on high. Stir the mixture again, cover it, and microwave for 30 seconds.
- Place a piece of parchment or wax paper down on your work surface (it should be the same size as your baking sheet). Use a sifter to cover it completely with cornstarch. Place the mochi down on top and sift more cornstarch on top of the dough. Wait for it to cool down before handling further.
- Sift more cornstarch onto your rolling pin and roll the dough to 1/4" thick rectangle. Transfer the parchment to the baking sheet and refrigerate for 15 minutes.
- Use a 4" cutter to make disks. Stack the disks with a piece of plastic wrap underneath each one.
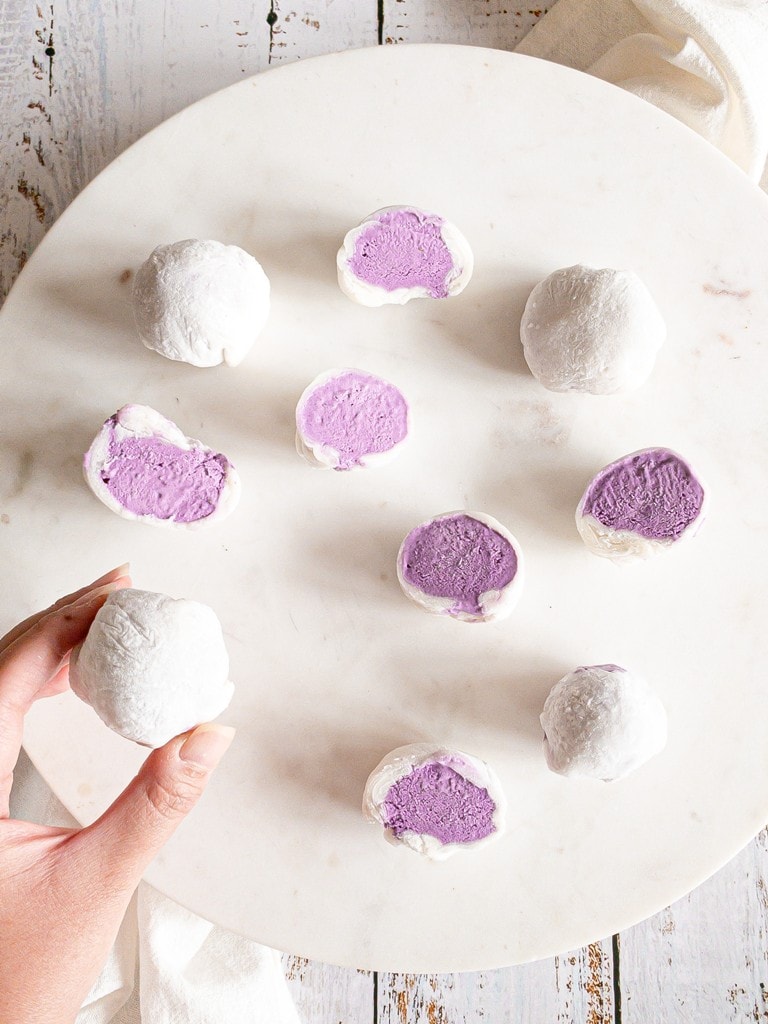
- Working with one ice cream ball at a time, place them onto your mochi dough disk and smoosh the dough over the ice cream. Try to get the dough to overlap to create a seam. Use the plastic wrap to hold it in place by twisting one end tightly. Place them seam side down in a muffin tin. Repeat for all of the ice cream balls. Before serving, let it come to room temperature for 7 to 8 minutes.
1 thought on “How to Make Ube Mochi Ice Cream”